How to Turn a Single Photo Into an Animated 3D Video
One photo can start the process, but it cannot reveal every hidden angle. Knowing what it can't see is the difference between a good result and an uncanny one.
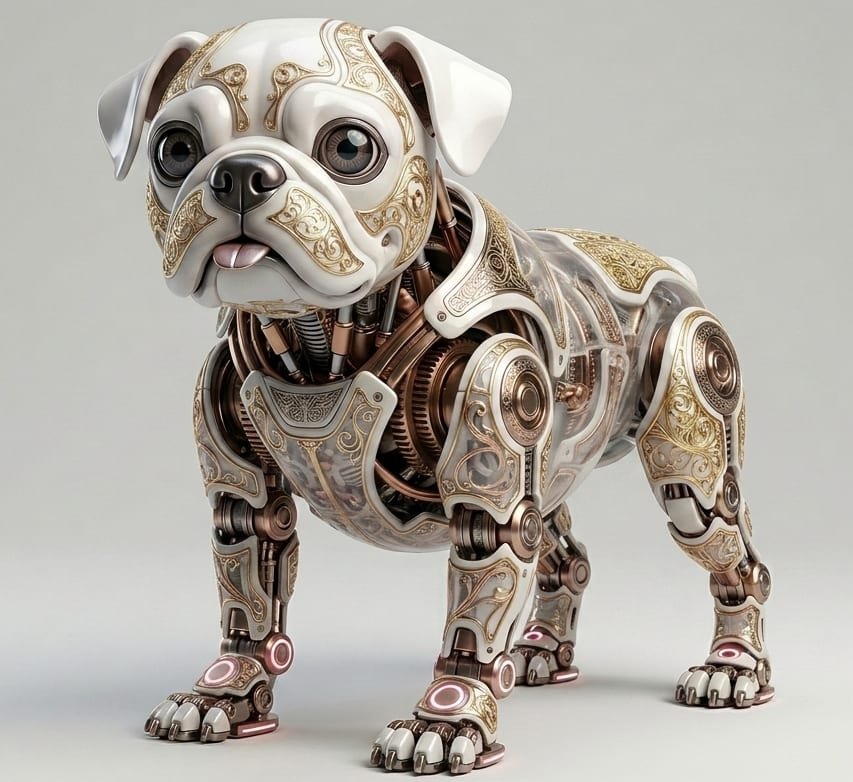
A single photograph contains one viewpoint. Everything behind your pet's head, the far side of their body, the shape of an ear from the back — none of it is in the file. Modern AI fills those gaps by inference: it has seen enough dogs and cats to make a confident guess. Understanding that this is a guess is what separates people who get good results from people who are disappointed.
What one photo gives you reliably
- Face and markings — the part facing the camera reconstructs well, because it's directly observed rather than inferred.
- Silhouette and proportion — overall build, leg length, body shape.
- Coat colour and pattern — on the visible side.
What it guesses, and sometimes gets wrong
- The far side — asymmetric markings are frequently mirrored or invented. If your pet has a patch on one side only, expect to correct it.
- Ear geometry from behind — a common source of the "not quite them" feeling.
- Fur length under the body — often smoothed.
- Anything occluded — a tail tucked out of frame is a tail the model invents.
Choosing your source photo
This decides most of the outcome. In rough order of importance:
- Facing the camera, head up, eyes visible.
- Even, diffuse light — overcast daylight or a bright room. Harsh sun creates hard shadows the model reads as markings.
- Clean separation from the background — a pet against a busy patterned rug is harder to isolate than one on a plain floor.
- Sharp — motion blur becomes smeared geometry.
A slightly imperfect photo of your pet looking at you beats a magazine-quality shot of the back of their head.
From still to motion
Animation is a separate step with different failure modes. Image-to-video models generate motion by predicting plausible next frames, which means they're good at gentle, natural movement and bad at anything sudden. Ask for a slow camera push and soft head movement and you'll usually get something lovely. Ask for a backflip and you'll get a smeared mess.
Keep clips short. Eight seconds of convincing motion is worth more than thirty seconds that drift away from your pet's likeness — and drift is what happens as clip length grows.
A realistic workflow
- Pick three candidate photos rather than one. The best source is often not the one you expect.
- Generate, then look specifically at the eyes and ears — that's where the uncanny lives.
- If it's close but wrong, try a different source photo before trying different settings.
- Once you have a still you'd frame, animate that. Don't animate something you're unsure of; motion amplifies every flaw.
And a note on expectations: this technology is genuinely good and genuinely imperfect. When it works it's startling. When it doesn't, it's usually the photo — not you.